

How to Sleep So You Don’t Snore (Positions + Exercises That Actually Work)
Nobody ever thinks to ask how they sleep — just whether they sleep. But the position you end up in at 2am might be the single biggest reason you wake up tired, stiff, or mid-snore every single morning.
This article may contain affiliate links. If you buy through these links, we may earn a small commission at no extra cost to you.
Most people never question how they sleep. They just collapse into bed at the end of the day and wake up wherever they end up. But if snoring is a regular part of your nights — yours or a partner’s — the position you spend those hours in matters more than almost anything else.
The good news is that sleep positions for snoring are one of the easiest things to change. No devices, no prescriptions, nothing to buy. Just a shift in how you lie down. Paired with a few simple throat exercises, it’s a combination that quietly transforms the quality of your sleep over a matter of weeks.
Here’s how to put both of them to work.

Your sleep position is one of the most underrated factors in how well — and how quietly — you sleep.
Why Your Sleep Position Affects Snoring So Much
Snoring happens when the muscles in your throat relax during sleep and the airway narrows. Air squeezes through, soft tissue vibrates, and that’s the sound. Pretty straightforward once you see it that way.
What most people don’t realize is that gravity plays a huge role in how much that airway narrows — and gravity’s effect on your throat changes entirely depending on how you’re lying down.
On your back, your tongue and soft palate fall directly backward toward the throat. The airway gets smaller. The vibration gets louder. It’s almost automatic — which is why back sleepers tend to snore more consistently and more intensely than side sleepers, even when nothing else changes.
On your side, gravity pulls those same tissues slightly forward and away from the back of the throat. The airway stays more open. Air passes through more easily. Snoring often drops significantly — sometimes disappearing entirely — just from this one adjustment.
Good to know
You don’t need to maintain a perfect sleeping position all night. Most people shift positions four to six times during sleep without fully waking up. The goal is to start on your side and make it easy for your body to return there when you do shift.
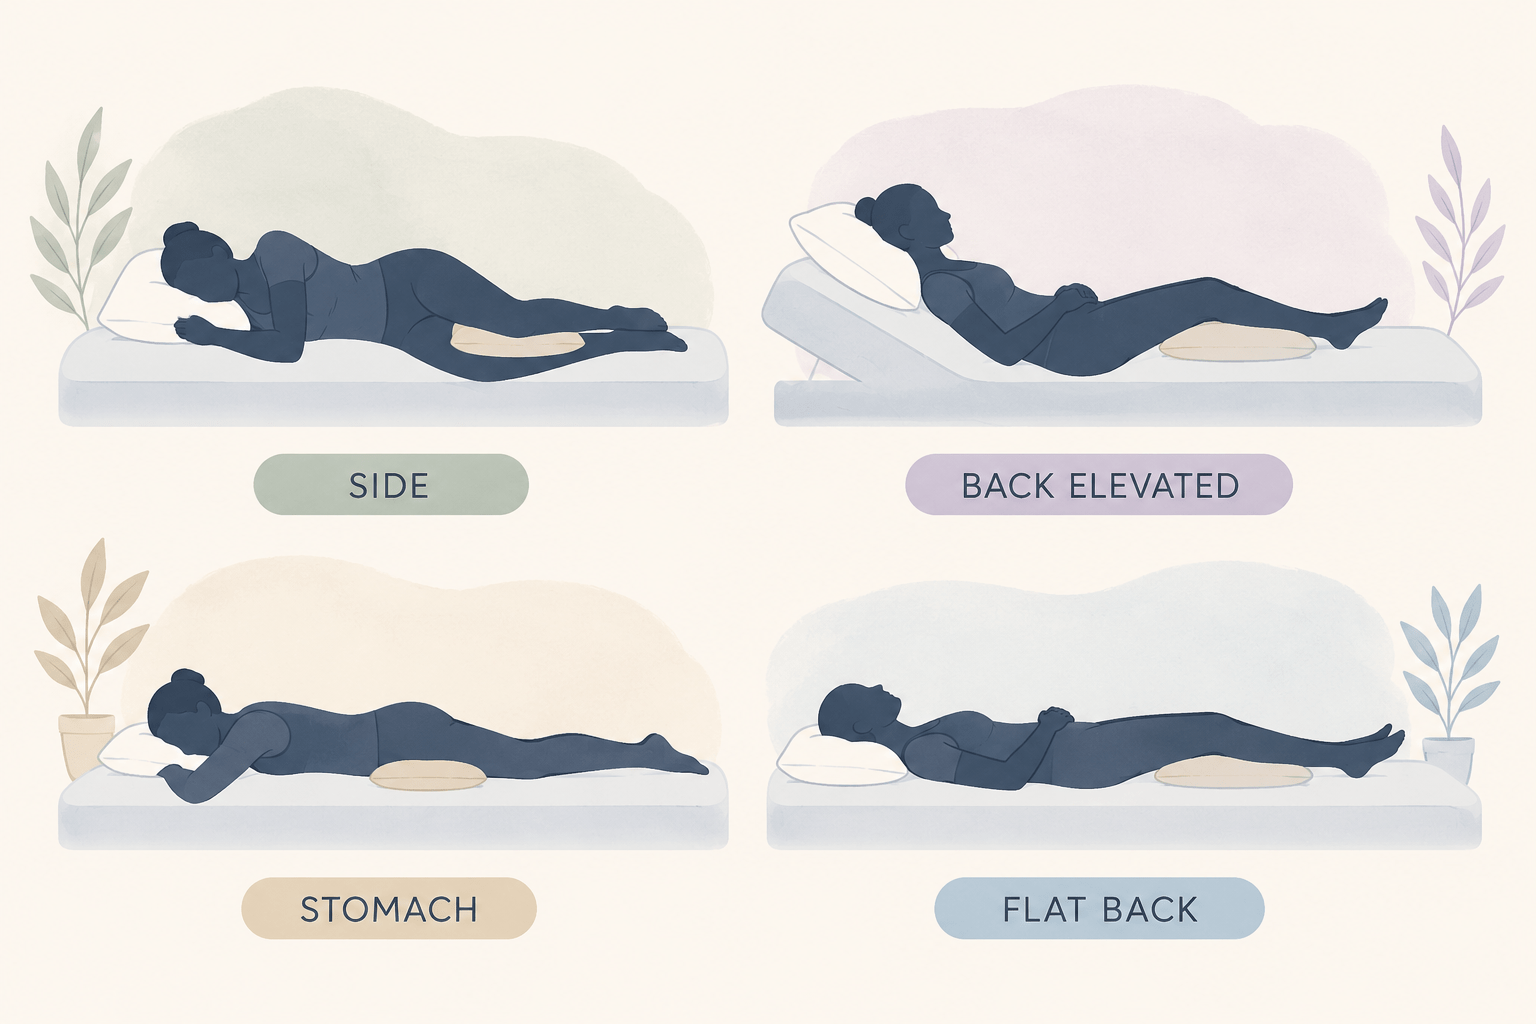
The Best Sleep Positions for Snoring
Not all positions are equal when it comes to keeping your airway open. Here’s an honest look at each one — what it does well, and where it falls short.
Left side sleeping
The single best position for snoring. Keeps the airway open, takes pressure off the soft palate, and is also the gentlest position for digestion and circulation. If you can only change one thing, make it this.
Right side sleeping
Almost as effective as left side for snoring. The airway stays open and gravity works in your favor. If left-side sleeping is uncomfortable, right side is a solid alternative with most of the same benefits.
Elevated back sleeping
Flat back sleeping is the worst for snoring, but raising your head by 4–6 inches changes the angle enough to reduce it meaningfully. If side sleeping isn’t possible, elevation is your next best move.
Flat back sleeping
The most common snoring position by far. Gravity pulls everything toward the back of the throat, narrowing the airway and making vibration almost unavoidable. Worth switching away from if you can.
The difference between sleeping on your back and your side isn’t subtle — for many people, it’s the entire reason they snore.
How to Actually Stay on Your Side All Night
Knowing you should sleep on your side is one thing. Actually staying there is another. Most people start the night in their preferred position and migrate during sleep without realizing it.
A few things that genuinely help:
- Pillow behind your back — a firm pillow tucked against your back makes rolling over uncomfortable enough that your body naturally stays put. Simple and surprisingly effective.
- Body pillow or long pillow — hugging something in front of you keeps your body anchored in a side position and often makes it feel more natural and comfortable to maintain. A good body pillow makes a real difference here.
- Pillow between your knees — this one’s about comfort. Side sleeping can strain your hips and lower back without it, which makes you more likely to shift. A knee pillow removes that discomfort entirely.
- A supportive mattress — a mattress that’s too firm or too soft creates pressure points on your shoulders and hips during side sleeping, pushing your body to change positions. Getting the support right helps you stay in place.
What about stomach sleeping?
Stomach sleeping does keep the airway relatively open — so it’s not terrible for snoring specifically. But it puts a lot of strain on your neck and lower back, and it’s generally not a position worth encouraging for overall sleep quality. If you’re a committed stomach sleeper, side sleeping is a gentler transition than jumping straight to your back.
Worth noting
If switching positions feels unnatural at first, that’s completely normal. It usually takes one to two weeks for a new sleep position to stop feeling awkward and start feeling like the default. Give it time before deciding it isn’t working.
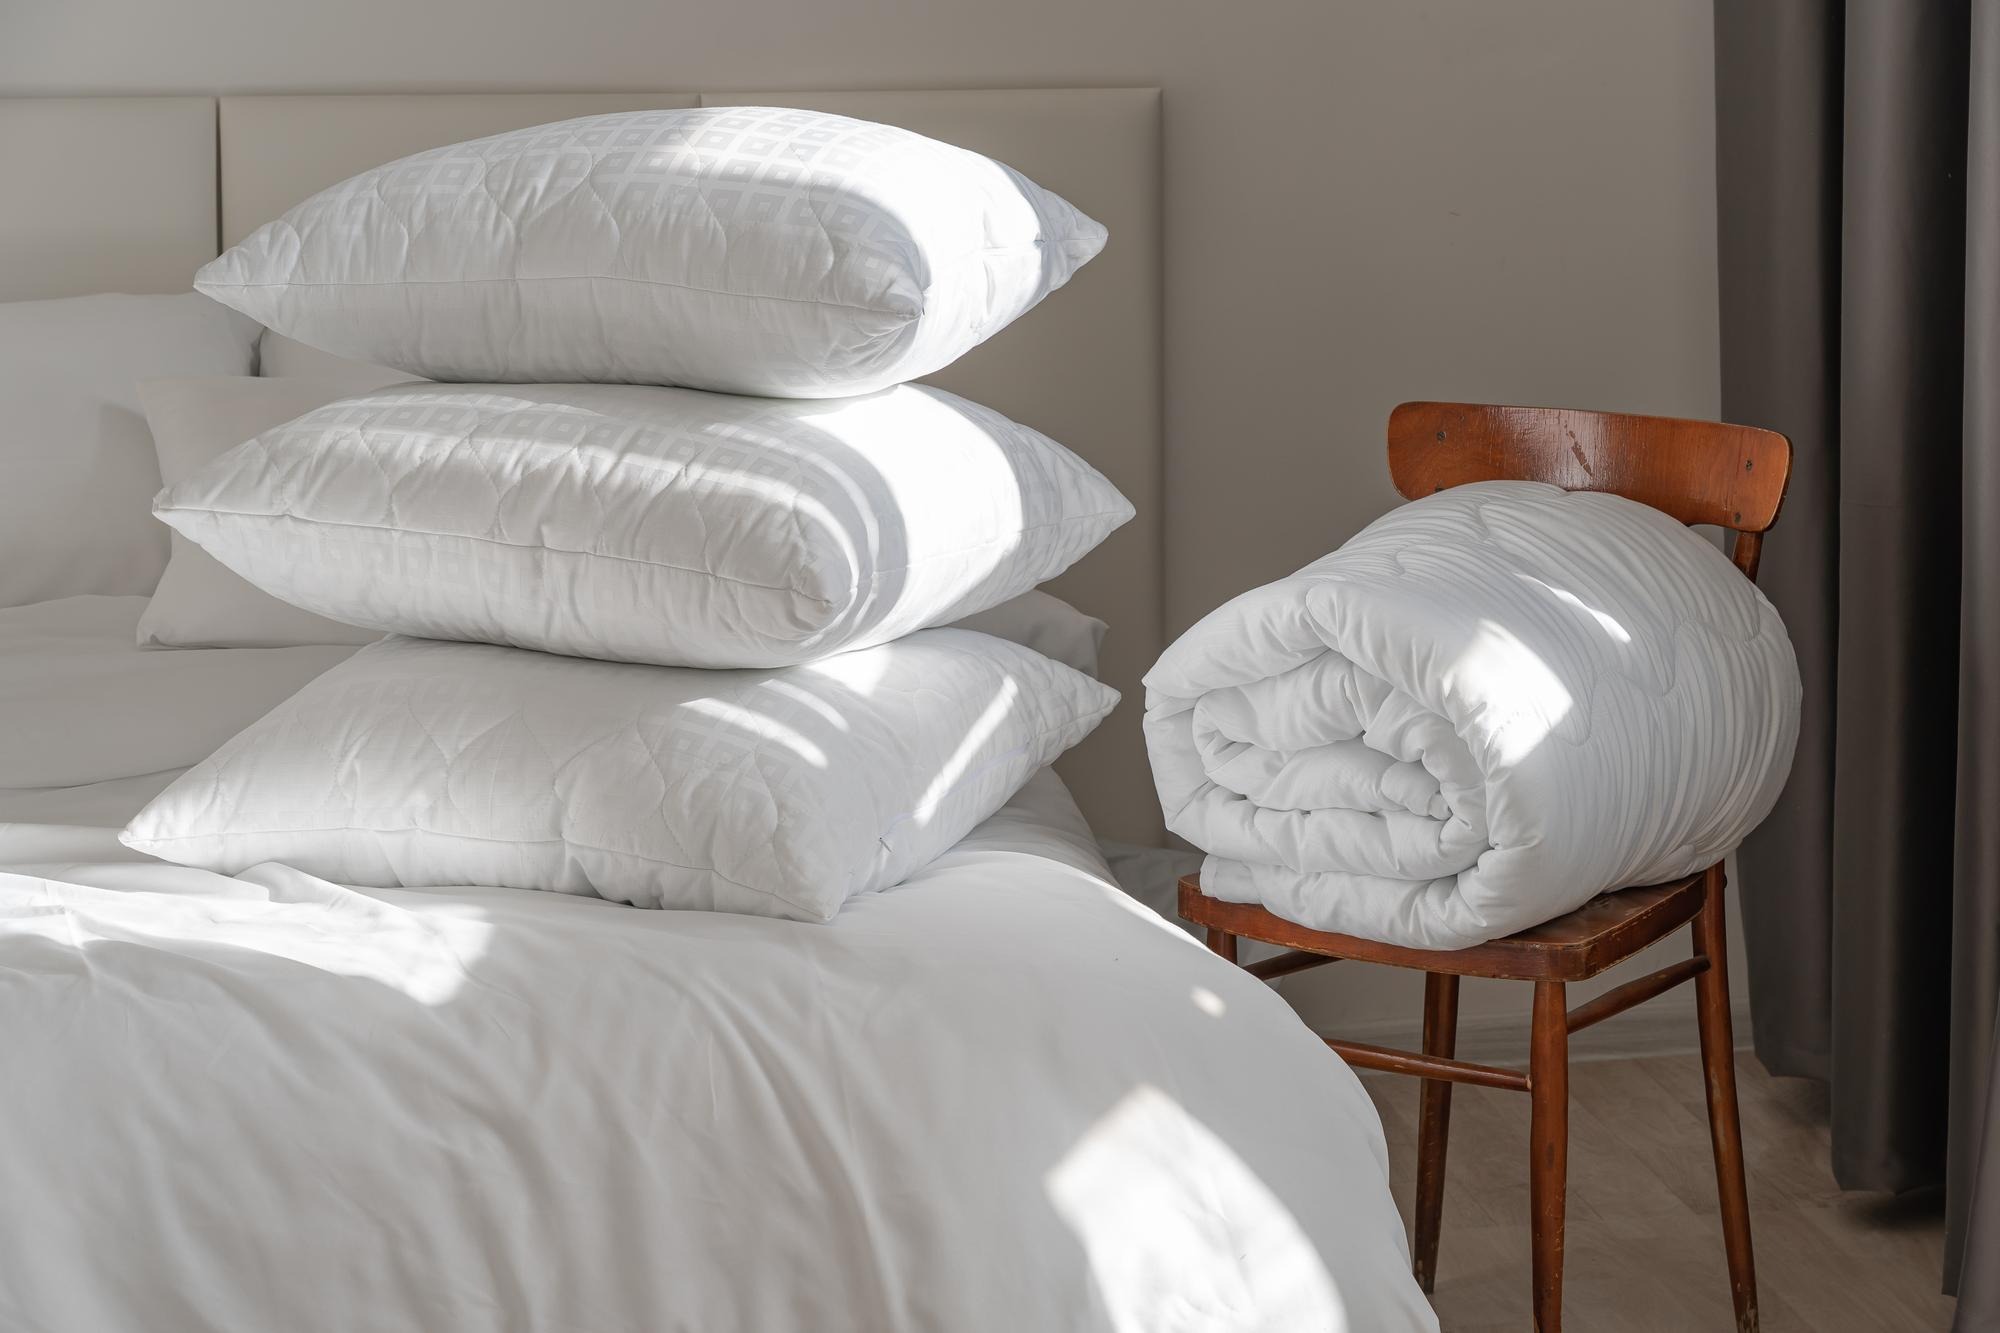
The Role of Your Pillow in All of This
Your pillow does more work than you probably give it credit for. The right pillow keeps your head, neck, and spine in alignment — which directly affects how open your airway stays during sleep.
For side sleepers, you need a pillow with enough loft and firmness to fill the gap between your shoulder and your head. Too flat, and your head droops down. Too thick, and it tilts your head upward. Either way, the neck curves in a way that partially closes the airway.
A few things worth knowing:
- Side sleepers generally do best with a medium-to-firm pillow, often thicker than they’d expect — roughly 4–6 inches of loft depending on shoulder width
- Back sleepers who can’t switch positions do better with a thinner pillow that keeps the head from tilting too far forward, which compresses the airway
- Anti-snore pillows are specifically shaped to keep the head and neck at a better angle regardless of position — worth trying if standard pillows haven’t solved the problem. This one is worth a look.
- Memory foam contour pillows hold their shape through the night and prevent the gradual flattening that means your support is gone by 3am — a contour pillow like this is a solid upgrade if you haven’t tried one.
The right pillow keeps your airway aligned while you sleep — something most people never think to check.
Simple Throat Exercises to Reduce Snoring
Here’s where most people get skeptical. Exercises — for snoring? It sounds a bit odd at first.
But think about what snoring actually is: soft tissue vibrating because it’s too relaxed to hold the airway open. The same way you’d strengthen any other muscle that isn’t doing its job, you can strengthen the muscles in your tongue, throat, and soft palate — and when those muscles have more tone, they’re less likely to collapse during sleep.
Multiple studies have found that consistent oropharyngeal exercises (the formal term for these throat and tongue movements) reduce snoring frequency and intensity meaningfully after three to four weeks of daily practice. Five minutes a day. No equipment. You can do most of them while doing something else entirely.
The exercises worth doing daily
Work through each of these once a day — morning tends to work better than evening for building the habit, but any time is fine.
Tongue slide
Press the tip of your tongue against the roof of your mouth and slide it backward slowly as far as it goes. 20 repetitions. Tones the tongue and the muscles along the top of the mouth.
Tongue press-down
Press the entire flat of your tongue against the roof of your mouth and hold for 10 seconds. Release fully. Repeat 10 times. Builds the lifting strength of the tongue body.
Vowel stretch
Say each vowel sound — A, E, I, O, U — slowly and with exaggerated mouth movement. Three sets of 20. Works the soft palate, cheeks, and throat opening simultaneously.
Chin resistance
Place your hand under your chin with light upward pressure. Open your mouth slowly against that resistance, hold 3 seconds at the widest point, then close. 10 reps. Strengthens jaw and throat floor muscles.
Soft palate lift
Open your mouth wide and say “Ahhh” while looking in a mirror — you should see the soft palate rise at the back. Repeat rhythmically for 30 seconds. Directly tones the palate tissue most prone to vibrating.
Humming
Hum steadily at a comfortable pitch for two to three minutes. The vibration resonates through the soft palate and throat, building tone in a passive, low-effort way. A good one to do during a morning routine.
Cheek resistance
Place a finger inside your cheek and press outward while resisting with your cheek muscle. Hold 5 seconds each side, 10 reps per side. Works the lateral throat muscles often overlooked by other exercises.
Tiger yell (silent)
Open your mouth as wide as possible, stick your tongue out and downward as far as it goes, hold 5 seconds. 10 reps. Stretches and strengthens the entire tongue base and the muscles of the throat floor.
Swallow with tongue up
Press your tongue firmly to the roof of your mouth and swallow. Repeat 10 times. A simple exercise that engages the full swallowing muscle chain — some of the same muscles involved in keeping the airway open during sleep.

Five minutes of throat exercises each morning adds up to noticeably quieter nights after two to three weeks.
How Long Before You Notice a Difference?
Sleep position changes can have an immediate effect — the first night you sleep on your side, many people notice a difference. Throat exercises take a little longer. Most people start noticing results after two weeks of daily practice, with more meaningful improvement by the end of week three or four.
The combination of both — adjusting your position and doing the exercises consistently — tends to work better than either one alone. The position change reduces snoring straight away. The exercises strengthen the underlying muscles so snoring becomes less likely regardless of how you shift in the night.
What if the position change doesn’t help on its own?
For some people, snoring isn’t purely positional. Nasal congestion, dry air, a particularly relaxed soft palate — these things matter too. If changing your position reduces your snoring but doesn’t eliminate it, layering in a humidifier, nasal rinse, or one of the anti-snore devices from our snoring solutions article usually closes the gap.
And if you’ve been consistent with position, exercises, and environment for four to six weeks and nothing’s shifting — that’s worth mentioning to your doctor. Persistent, loud snoring can sometimes point to something that needs proper attention, and it’s always better to know.
Good to know
Playing a wind instrument — anything that requires controlling breath and embouchure, like the didgeridoo, flute, or even harmonica — has been shown to reduce snoring over time by building exactly the kind of throat and airway muscle tone these exercises target. An unusual tip, but a real one.
Putting It Together — A Simple Daily Routine
You don’t need to overhaul your life for this to work. The whole routine takes about ten minutes total, split between morning and evening:
- Morning (5 minutes) — work through the nine throat exercises above. Do them while your coffee is brewing, in the shower, or during a quiet moment before the day starts.
- Evening (2 minutes) — clear your nose with a saline rinse if you tend to get congested. Set up your pillow in the position that makes side sleeping easiest for you.
- Bedtime — lie down on your left or right side. Tuck a pillow behind your back if you need it. That’s the whole routine.
The consistency is what makes it work. One good night here and there won’t change much. Three weeks of the same position and the same exercises — that’s when people start noticing their mornings feel different.
Worth noting
Pairing these habits with the natural remedies in our stop snoring article gives you a layered approach that covers most of the common causes at once. Position and exercises handle the mechanical side. Humidity, hydration, and nasal care handle the environmental side. Together, they cover a lot of ground.
Sleep is one of those things where the smallest adjustments leave the biggest traces. The way you position yourself for eight hours every night, the small daily exercises that quietly strengthen what needs strengthening — none of it feels dramatic in the moment. But after a few weeks of consistency, you wake up different. Quieter nights, easier mornings, a little more of yourself back. That’s what this is really about.